


These are instructions on how to install FiiO USB Driver on Windows Computer (this method can be used on Windows XP, Windows 7, Windows 8, 8.1, and Windows 10).
Requirements: You need to have the Windows Computer and the FiiO Driver to follow the below guidelines.
Install FiiO USB Driver on Windows Computer
- Download and extract the driver package on the Computer. If in case, you have already downloaded and extracted the driver package, then SKIP this step.
- Once the driver package is extracted on the computer, you will be able to see the following files:
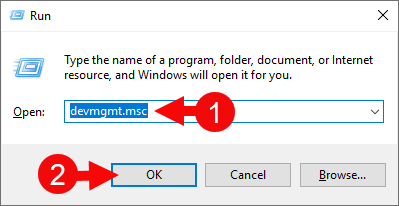
- Open Device Manager on the Computer. Press Win + R key from the keyboard and type devmgmt.msc and Click on OK Button:
- Under Add hardware Dialog Box, Click on the Next Button:
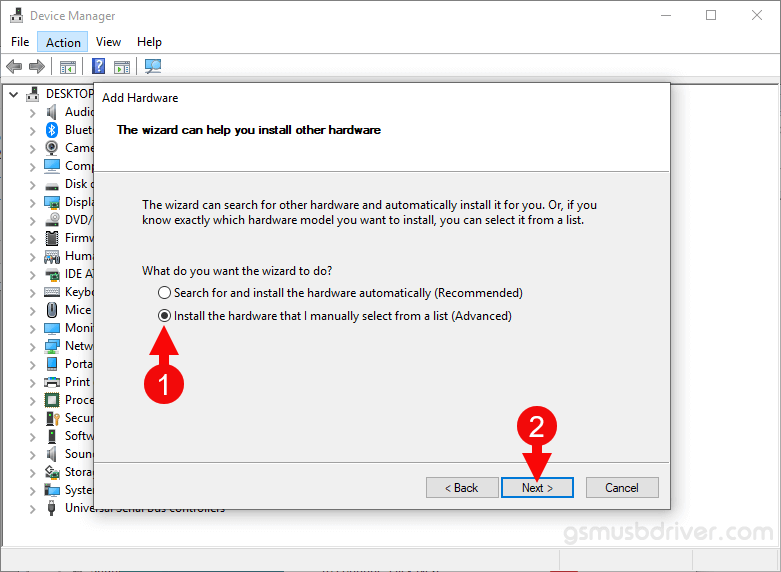
- Tick on the Install the hardware that I manually select from a list checkbox and Click on the Next Button:
- Click on the Browse Button:
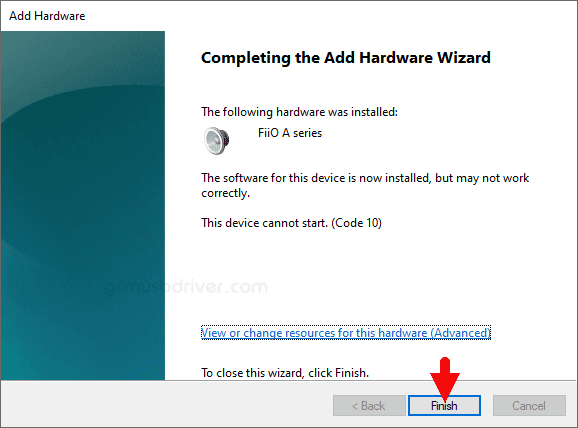
- Click on the Finish button to complete the installation process (ignore Code 10; it will be gone post restarting the computer).
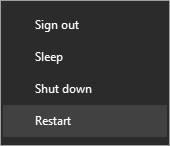
- Restart the Computer.


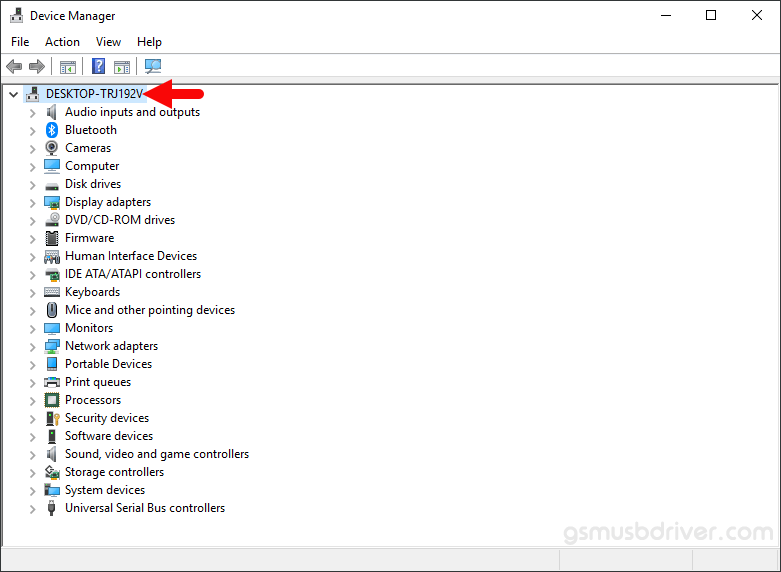
a. Once the Device Manager is Launched, Click on the Computer Name (name can vary from the image below):
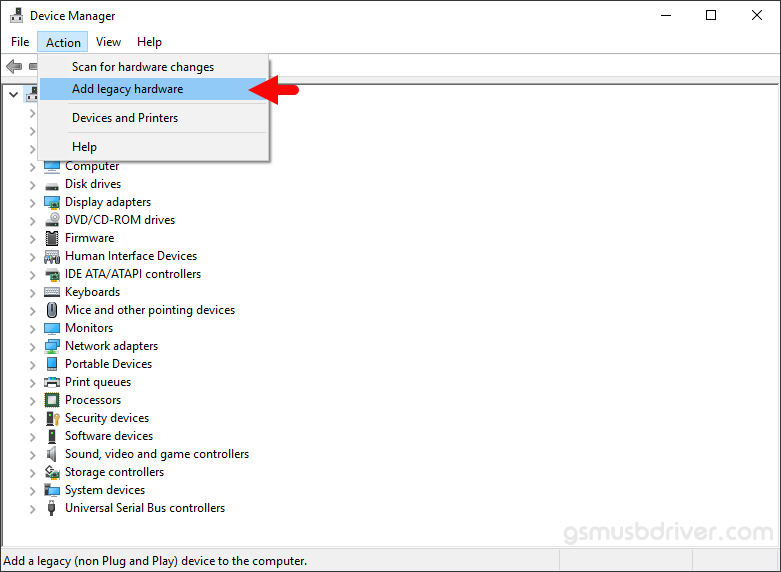
b. Click on the Action Menu and Select Add Legacy Hardware option:
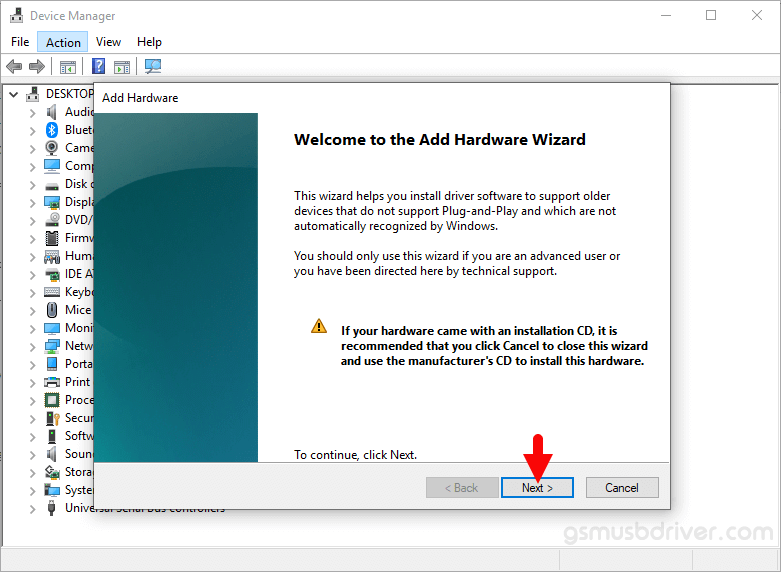
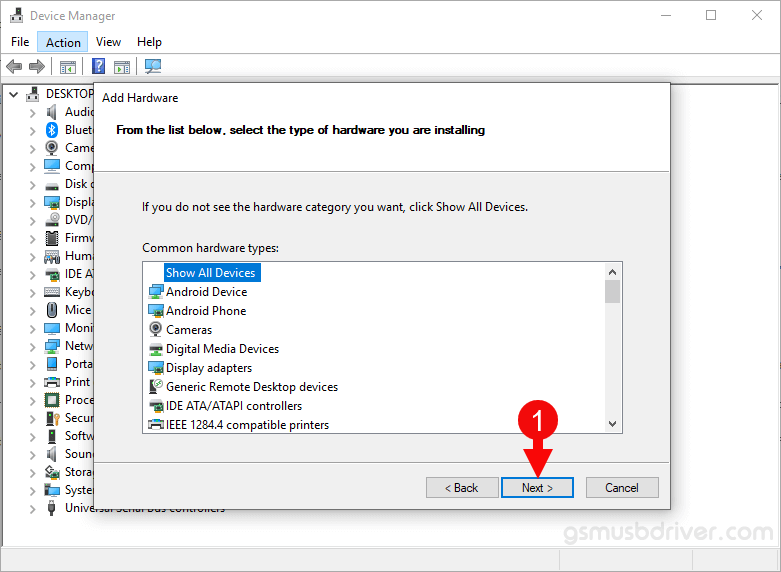
a. Click on the Next Button:
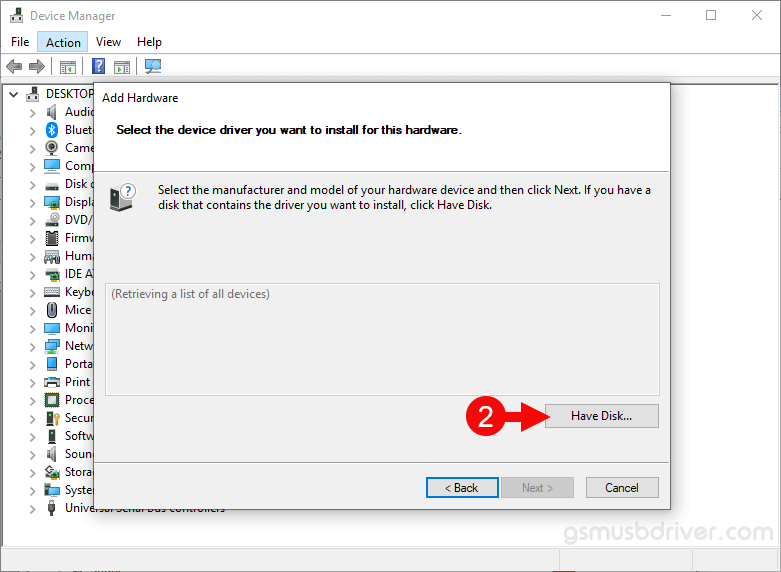
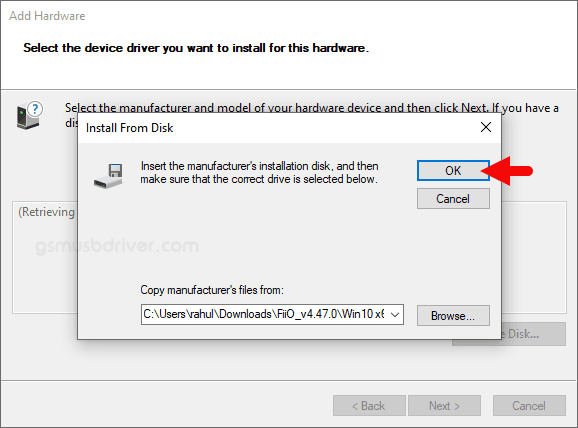
b. Then Click on the Have Disk Button:
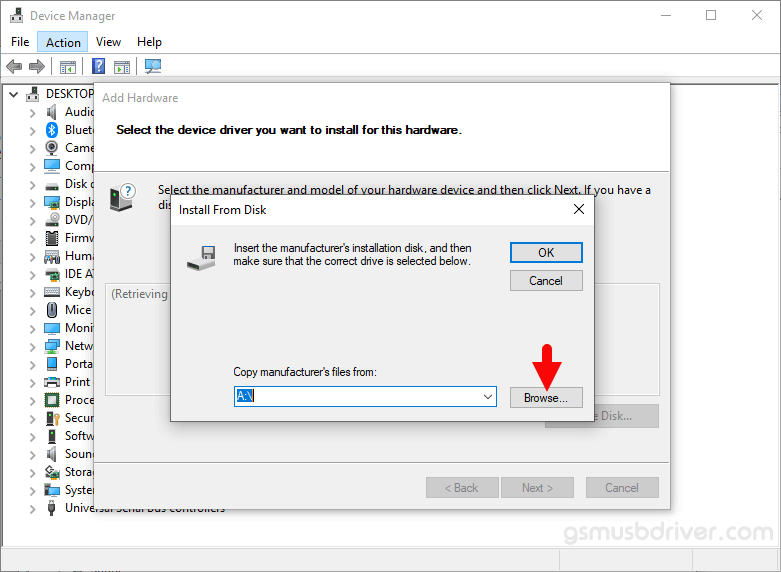
a. Locate the .inf file from the computer (this file can be found in the extracted driver folder).
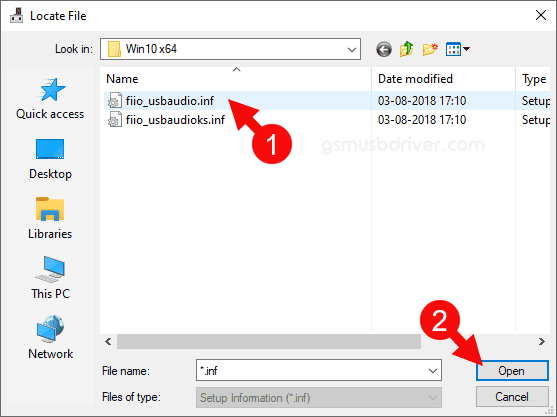
b. Click on the OK Button:
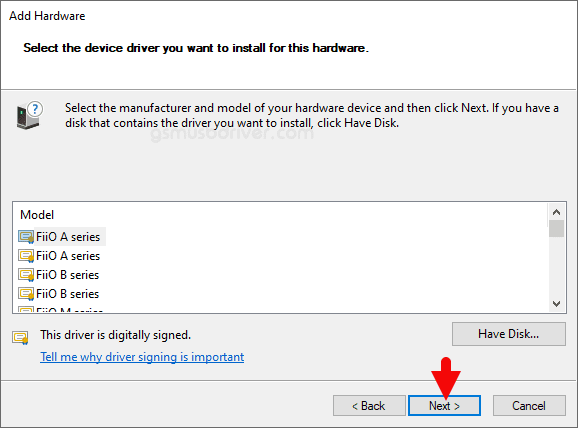
c. Click on the Next Button (you can manually select the model number of your FiiO device in this step):
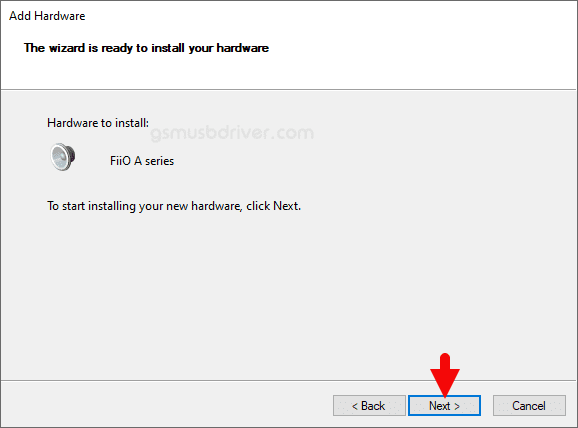
d. Again Click on the Next button:
Once the Computer is restarted, you can easily connect your FiiO devices to the computer without facing any issue.
Readme Once:
[*] We have used the FiiO Driver to create the above manual. If you wish, you can download the same driver from here.
[*] Driver Signature Error: If you are facing Driver Signature Error while installing the USB Driver, then head over to How to Fix Driver Signature Error page.
[*] Driver Easy: We recommend you to use Driver Easy application to update all the computer drivers in a Single Click.
[*] Credits: FiiO Driver is created and distributed by FiiO Electronics Technology Co. Ltd. So, full credit goes to them for sharing the driver for free.


 in Spain | Hosted on