


These are instructions on how to install the Rockchip USB Driver on Windows Computer (this method can be used on Windows XP, Windows 7, Windows 8, 8.1, and Windows 10).
Requirements: You need to have the Windows Computer and the Rockchip Driver to follow the below guidelines.
Install Rockchip USB Driver on Windows Computer
- Download and extract the driver package on the Computer. If in case, you have already downloaded and extracted the driver package, then SKIP this step.
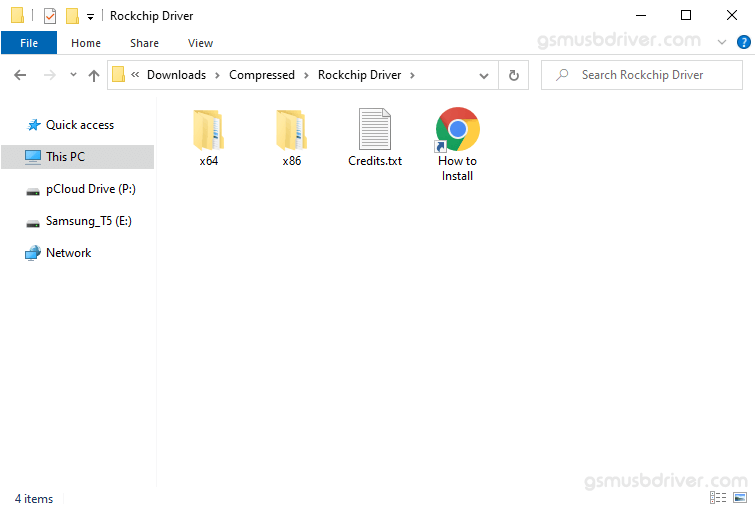
- Once the driver package is extracted on the computer, you will be able to see the following files:
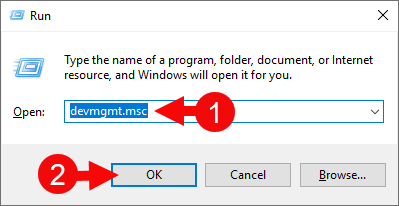
- Open Device Manager on the Computer. Press Win + R key from the keyboard and type devmgmt.msc and Click on OK Button:
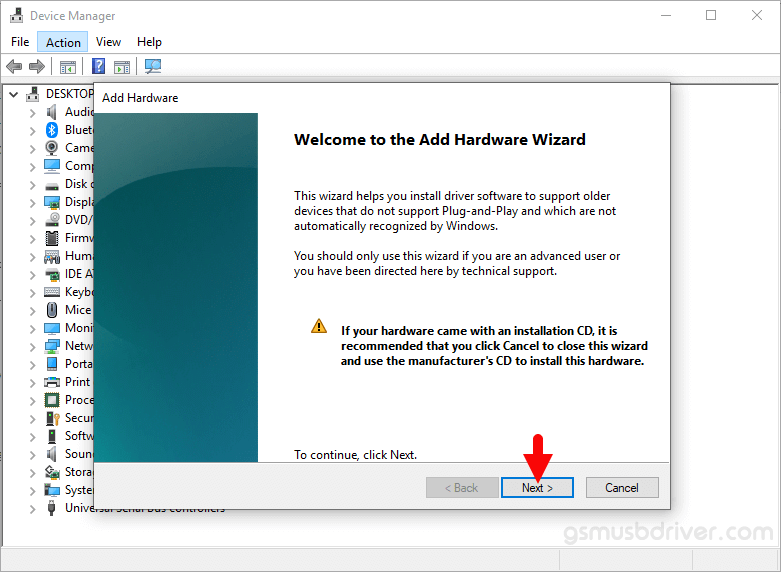
- Under Add hardware Dialog Box, Click on the Next Button:
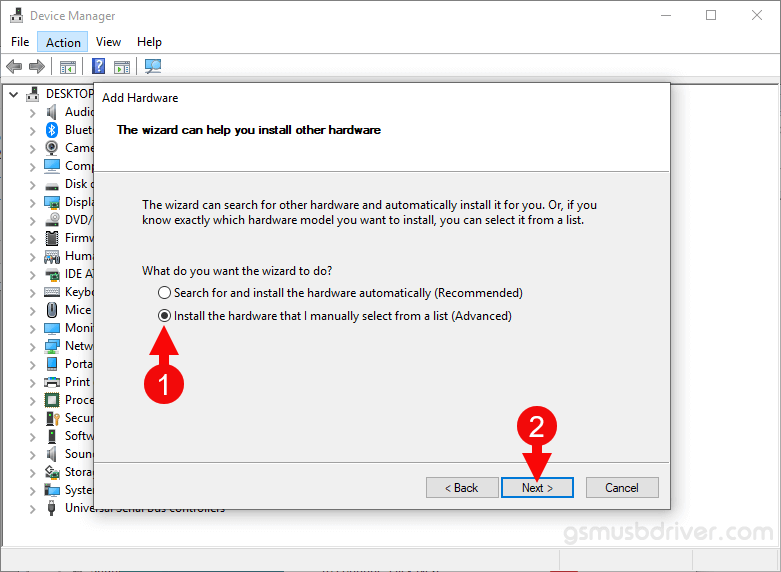
- Tick on the Install the hardware that I manually select from a list checkbox and Click on the Next Button:
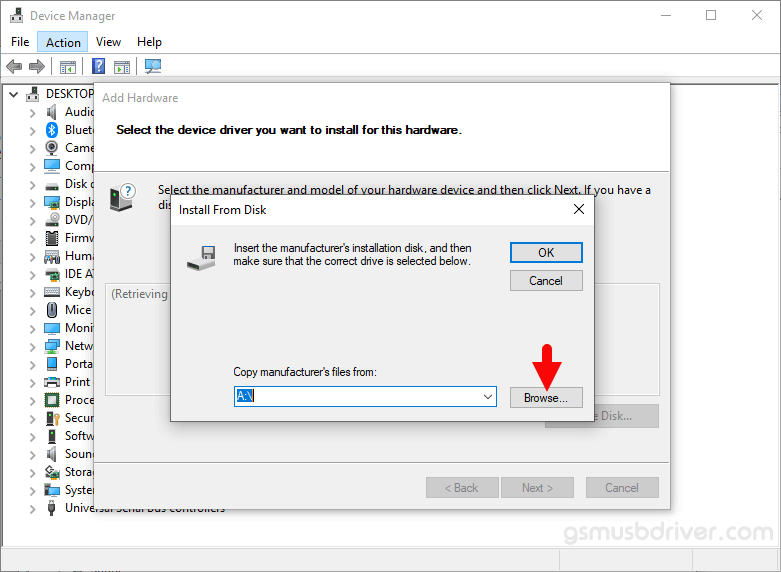
- Click on the Browse Button:
- Click on the Finish button to complete the installation process (ignore Code 10; it will be gone post restarting the computer).
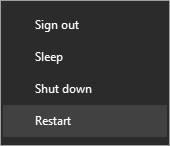
- Restart the Computer.

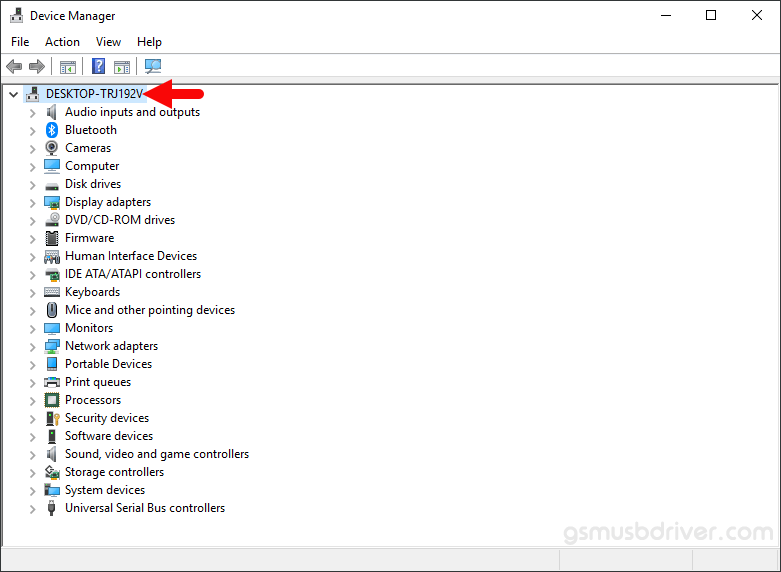
a. Once the Device Manager is Launched, Click on the Computer Name (name can vary from the image below):
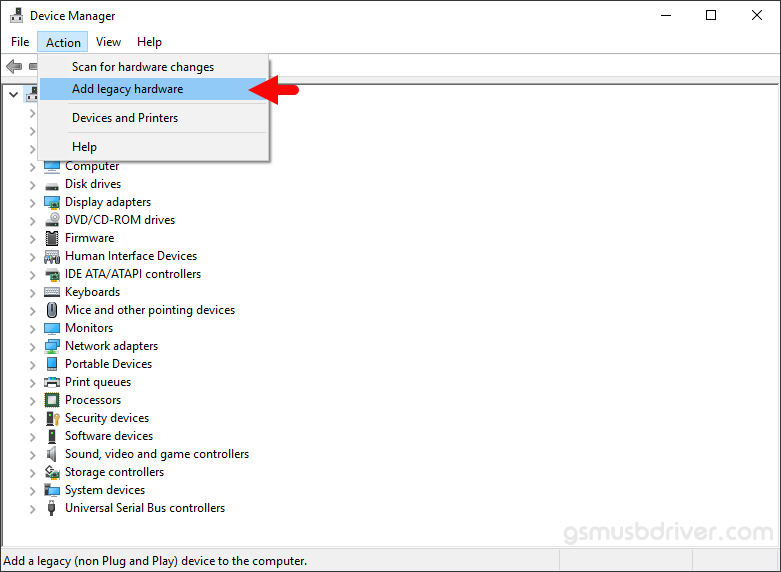
b. Click on the Action Menu and Select Add Legacy Hardware option:
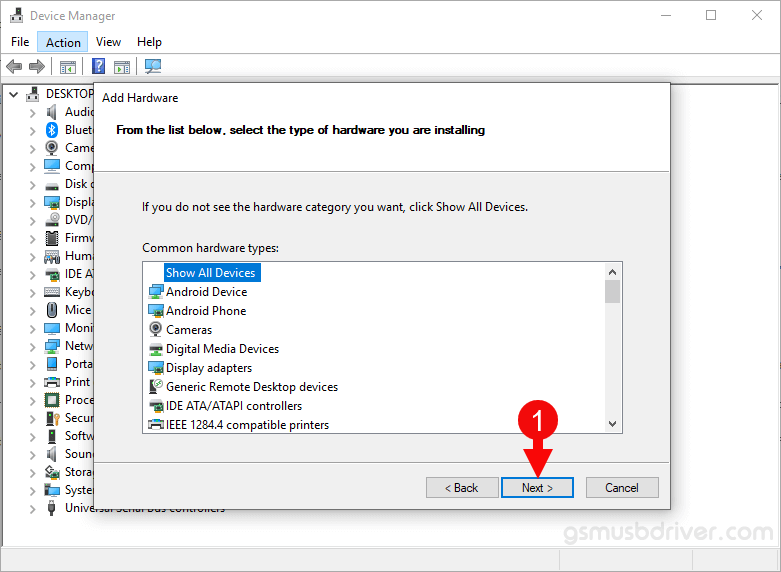
a. Click on the Next Button:
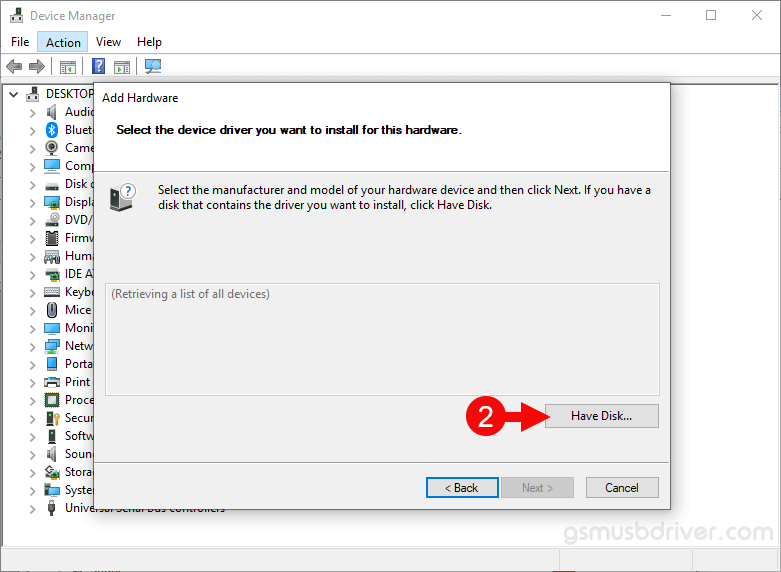
b. Then Click on the Have Disk Button:
a. Locate the .inf file from the computer (this file can be found in the extracted driver folder).
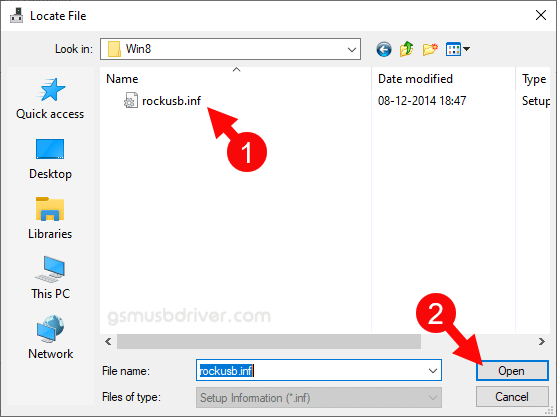
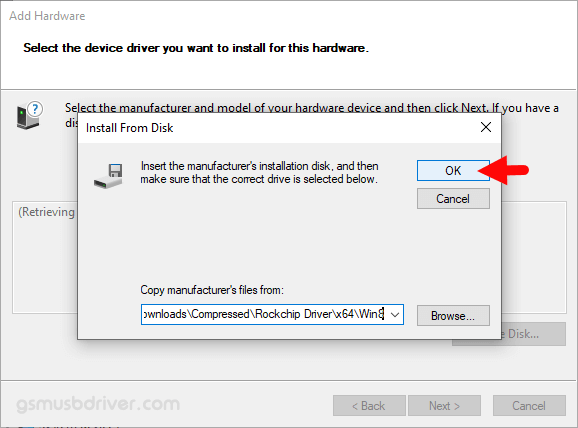
b. Click on the OK Button:
c. Click on the Next Button:
d. Again Click on the Next button:
Once the computer is restarted, you can easily connect your Rockchip Devices to the computer without facing any issue.
Readme Once:
[*] We have used the Rockchip Driver to create the above manual. If you wish, you can download the same driver from here.
[*] Driver Signature Error: If you are facing Driver Signature Error while installing the USB Driver, then head over to How to Fix Driver Signature Error page.
[*] Driver Easy: We recommend you to use Driver Easy application to update all the computer drivers in a Single Click.
[*] Credits: Rockchip Driver is created and distributed by Fuzhou Rockchip Electronics Co., Ltd. So, full credit goes to them for sharing the driver for free.


 in Spain | Hosted on